
Virtual private cloud basics on google cloud platform
How to create a virtual private cloud as well as a firewall and subnet on the VPC


Definition of terms
- A virtual private cloud (VPC) is a private cloud computing environment contained within a public cloud.
Simply put a virtual private cloud is defining one's own cloud in a public cloud such as google cloud platform.
It is important to create a VPC if you which to use any google cloud product built on google compute VMs
- A subnet as defined by cloudflare is a network inside a network. It is a logical IP range partition within a network. If an IP range e.g. 12.0.0.1/8 is defined for a particular region in a virtual private cloud that partitioning is known as a subnet. A VPC on google cloud must contain one or more subnets. The range of a VPC's IP is configured in its subnets.
What are we going to do?
Create a virtual private cloud, defining its name, description and MTU etc.
Create two subnets, defining IP ranges for the two subnets
Create two firewall rules. One to deny all traffic, the other to accept all traffic
We would be using firewalls to define public and private connections on instances in the virtual private cloud network.
Prerequisites
Access to google cloud platform, you can sign up for the free account, here
Steps
Creating the VPC
1.
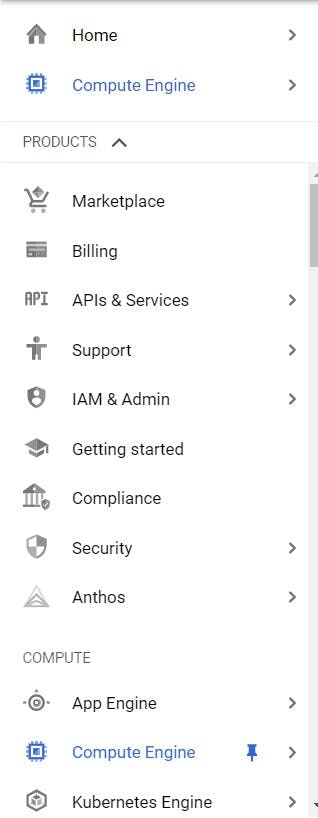
The left hand side of your google cloud platform should look like this. If not click this
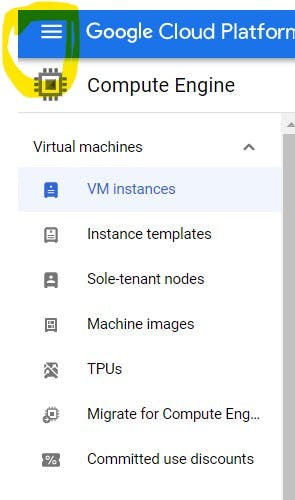
To get your dashboard to look like the previous one.
2.
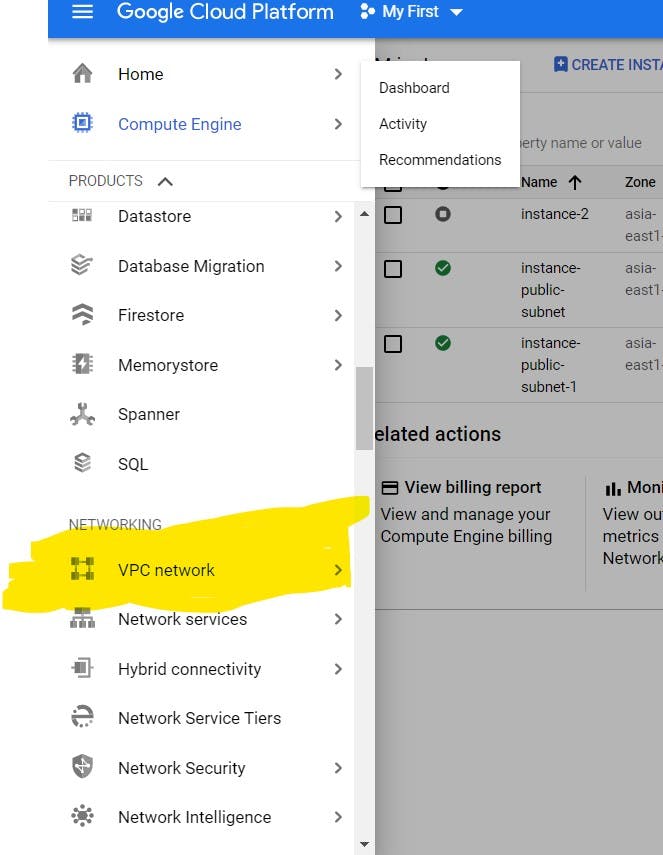
Scroll down to VPC network and click on it.
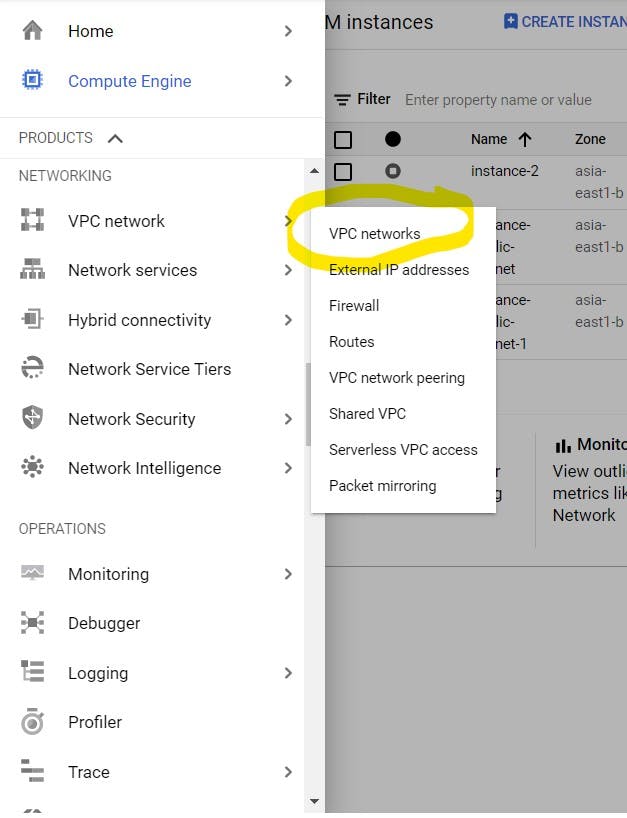
- Another menu should pop up beside that option click on VPC networks
4. You should see the default VPC created by google cloud. Click on create VPC network, to create yours.
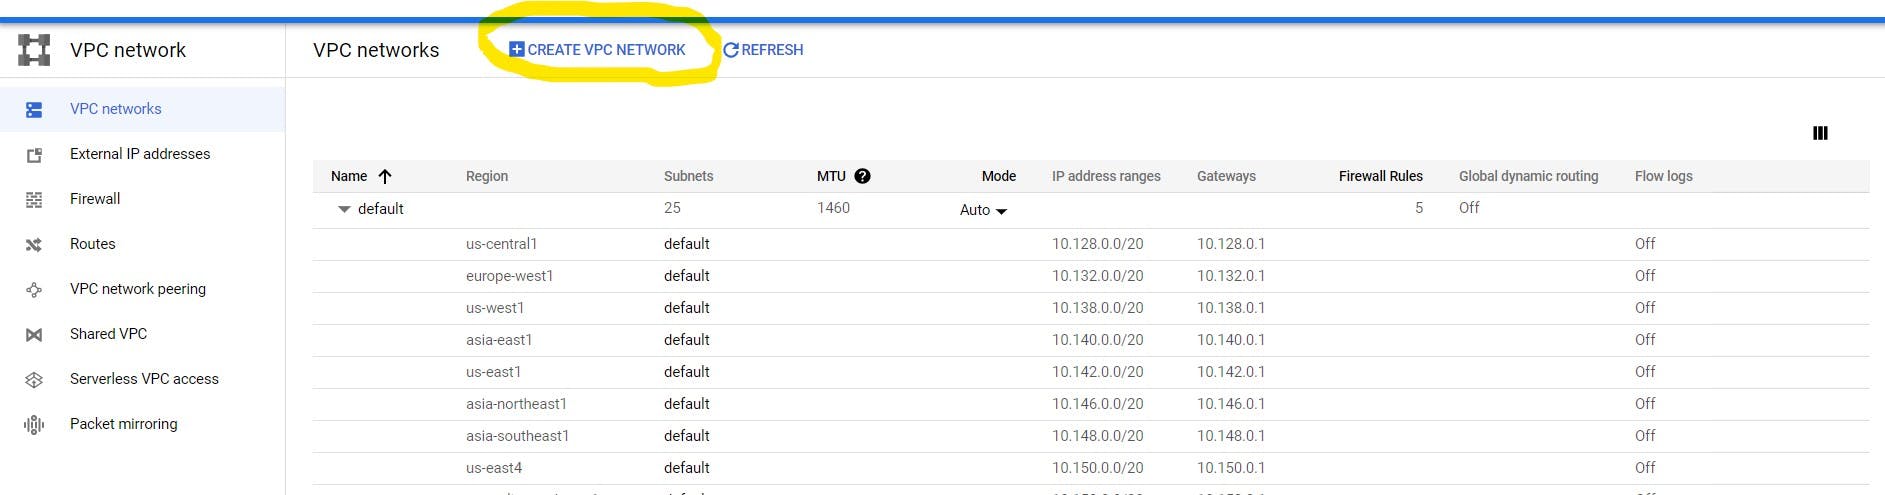
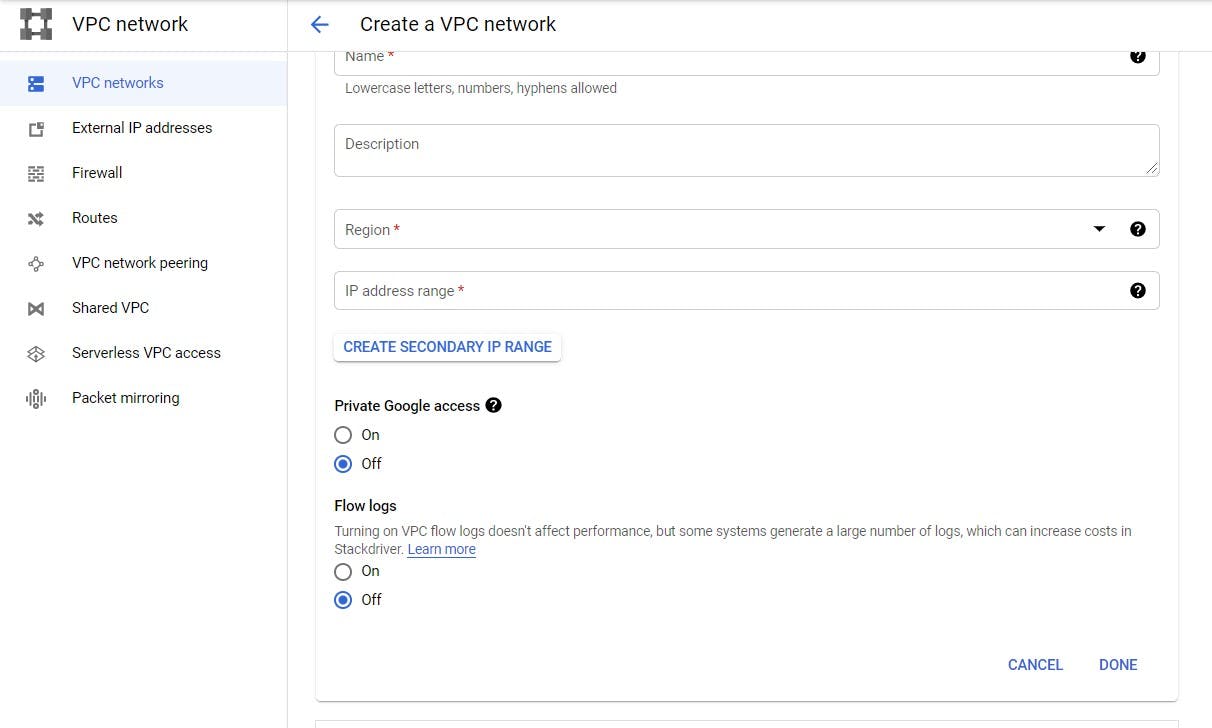
- You should see this window. Input the details required to create your VPC network. Each field is explained below
Explaining the fields:
At any point you are confused about a field, feel free to click the question mark icon beside it. I would also explain it here.
- Name: This is the name you wish to give your virtual private cloud, it should contain only lowercase letters, hyphens and numbers.
Description: You can give more information about your VPC network here.
Subnet: This field creates a subnet. If you choose custom option, you would create the subnet for each region yourself. If you choose automatic, subnet would be created for you. To learn more about subnets and IP ranges. Click here
Name: The name you would like to give the subnet
Description: You can give extra information about the subnet here
Region: The region you are defining the subnet for.
IP address range: The range of IP address you want to define for that region e.g. 12.0.0.1/8
Private Google access: Turning this on and off affects the way an instance on the network connects to Google APIs and services. You can read about it here. A subnet that has this turned off would not be able to access google api and services, if an external ip address has not ben set.
Flow logs: Turning this on or off would enable or disable creation of logs. You can learn more about it here . You can leave the deafult option.
-Maximum transfer unit: The maximum transmission unit (MTU) is the size, in bytes, of the largest packet supported by a network layer protocol, including both headers and data. On the platform, it is either 1460 or 1500. You can read more about it here . You can leave the default option.
Click create. After that voila! you have a virtual private cloud setup.
Creating firewalls
We would create two firewall rules with names, private and public. You can pick any name of your choice
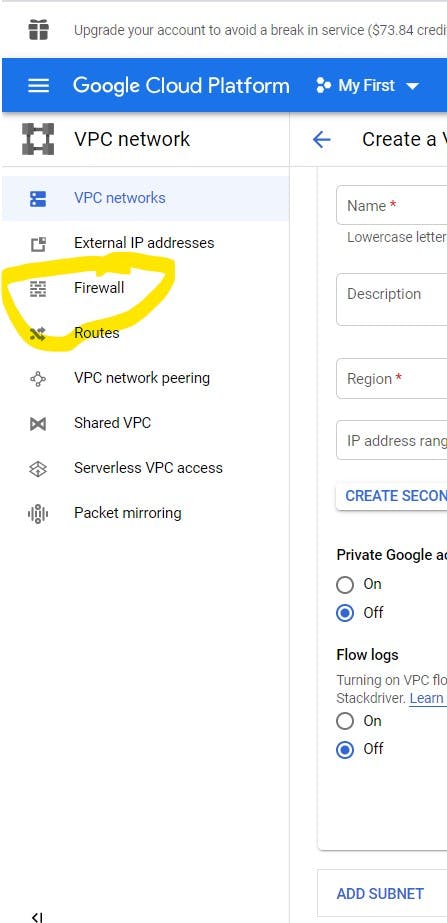
Click on firewall on the left handside of the window
Click on 'Create Firewall'

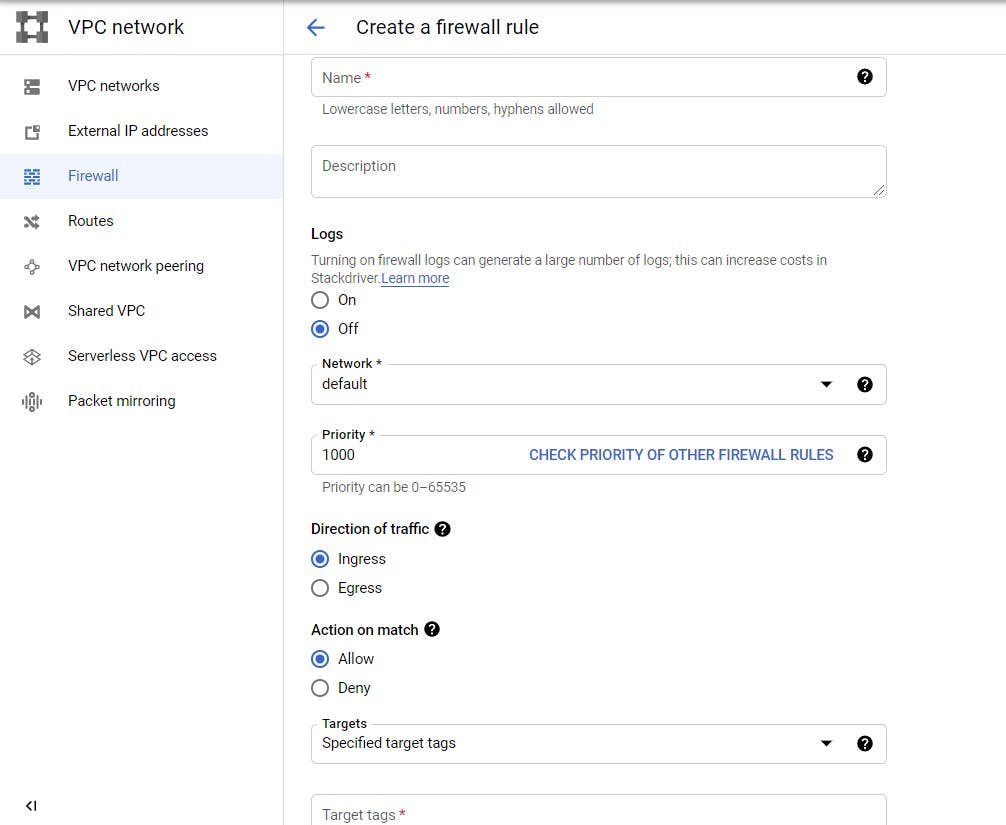
The window should look like this
Explaining the fields:
Name: Input the name you want to give the firewall rule. Remeber we would be creating two firewall rules. We would name them public and private.

Description: Give more information about your rule.
Logs: Turning it on or off would enable or disable logging. You can read more about it here
Network: Choose the VPC the firewall would affect.
Priority: Pick a number from 0-65535. To indicate the priority of the rule. This is important because more than one rule can affect a target. The lower the number, the higher the priority. You can leave it at its default value , 1000 as there are no clashing firewall rules on a target, now.
Direction on traffic: Egress means traffic going out while ingress means traffic going in. We would be creating a firewall rule that affects incoming traffic so select, ingress.
Action on match: Choose allow for firewall rule, public and deny for firewall rule, private.
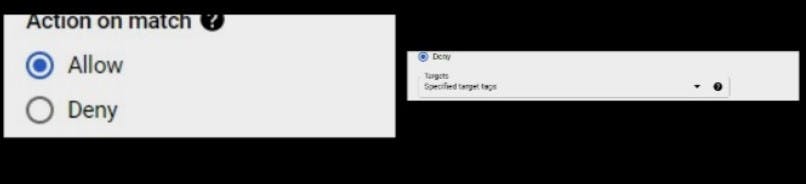
Targets: Here we would specify targets for the rule.We would be targetting instances with tag, public for public firewall rule and private for private firewall rule.

Source filter: You can filter by ip ranges or source tags. We would be filtering from IP ranges. We want to deny or allow traffic from the internet so we would be using the IP range, 0.0.0.0/0 and/or 0.0.0.0/24.
If you want to deny or allow traffic from a particular source you can use source tags. You would understand how tags are used when we create our VM instance.
Protocols and ports: Choose deny all for the private firewall rule. For the public firewall rule, select allow all.
Click create when done.
At this point we have created our VPC network, subnets and firewall rules
Creating VM instances to check our confgurations.
Creating an instance in the public subnet
- Go back to the initial page
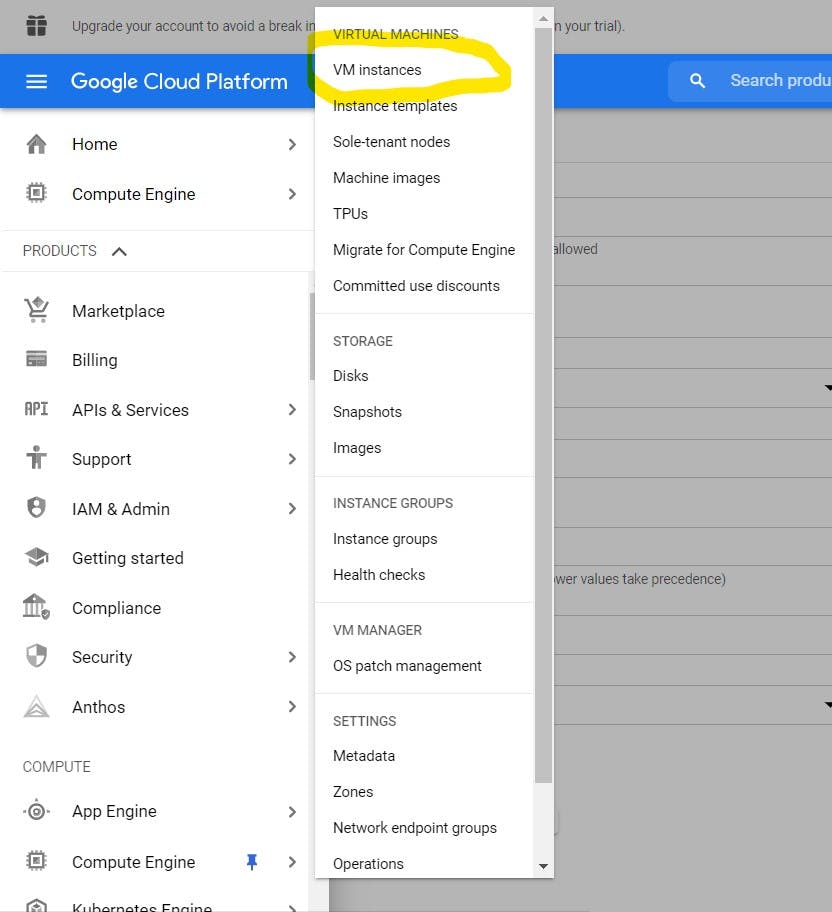
- Click on compute engine then vm instance
- Fill in the details as required. Click here for guidance on how to create a VM instance in a specific subnet . To configure the network settings. Scroll down to this :
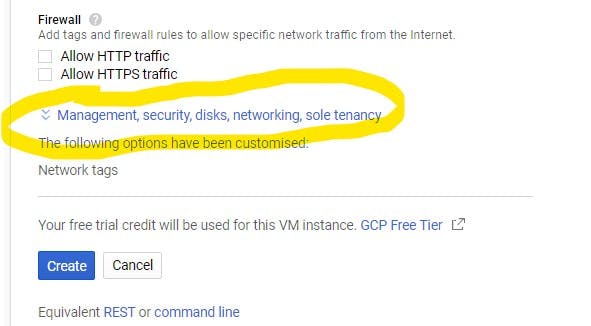
- Expand and click on the network tab
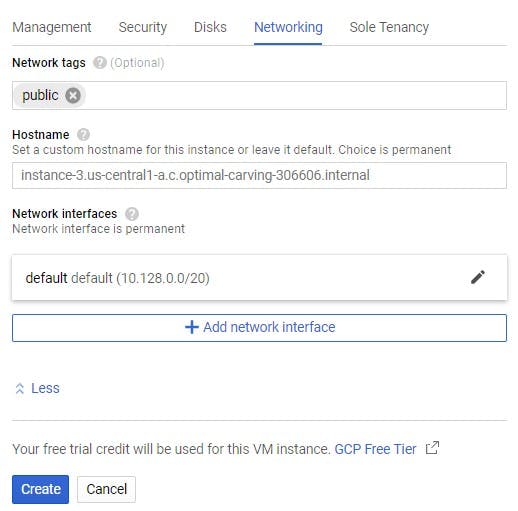
If you want to apply the public firewall rule to a vm instance. In the network tag field type in the tag you used while creating the public firewall rule. The same applies to the private firewall rule.
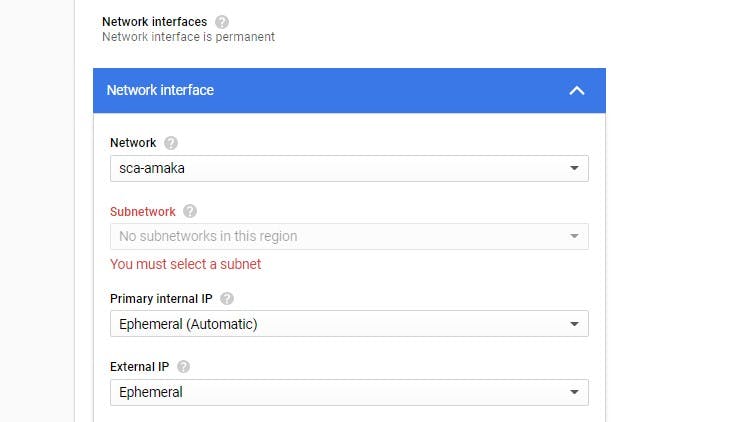
To use the VPC, you created on the network interface field, scroll and select your vpc.
Note: While creating your virtual machine instance, you have to select a region that is in any of your VPC's subnet to be able to avoid this error:
Create two instances. Apply the public firewall on one and the private firewall on the other.
Try connecting to each, what do you notice ?
The one with the private firewall does not connect successfully while the other one does. So you can see the effect of firewall rule in each instance.
Now you know the basics feel free to adjust it to your taste. You can allow only ssh connections, port 22 on the private firewall for a successful ssh connection.